8. Completing and Signing a Form
In One File, some apprenticeship areas might use custom forms to store additional information in your portfolio, this is in addition to the formal tripartite ‘Reviews’ area where your Tutor or Assessor schedules a meeting with you and your employer, to discuss progress, target and the apprenticeship journey.
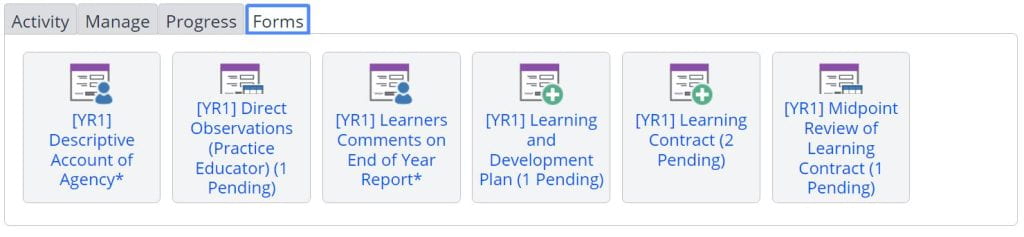
If your Apprenticeship is using additional forms, you will see a ‘Forms’ tab on your portfolio, if you do not see this tab, then the forms are not in use for your programme. Forms can be set up in a few different formats, therefore as the learner, for some forms you will just sign to say that you agree and have read the contents, others you will be required to fill out the form in its entirety.
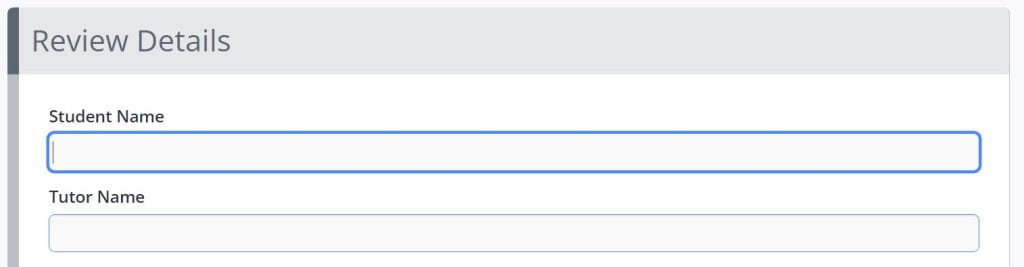
The following example image is from a Social Work Apprenticeship, you may find that on your portfolio, you only have one or two forms perhaps related to informal weekly tutorial meetings with your tutor and employer, or there may be additional forms, for you to record progress evidence and practice throughout your apprenticeship.
In your portfolio, you will find the following types of form, for ease, we are firstly just going to focus on how you save the form types, there are two options, those with a Save button, and those with Signatures. We will then look at the kinds of fields you might find within a Form, these will be similar to many websites you are likely to use everyday.
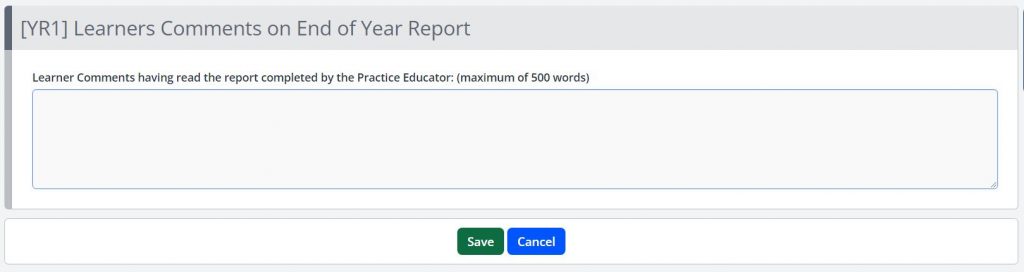
- Learner Portfolio (Learner) – The form can be filled in only by the learner and does not contain signatures. It is visible to all users who can access the learner’s portfolio. When you have completed the form, just press Save.
- Learner Portfolio (Learner/Tutor) – The form can be filled in by the learner and the tutor together and does not contain signatures. It is visible to all users who can access the learner’s portfolio. When you have completed the form, just press Save.
Both these form types will contain a Save and Cancel button at the end, click Save to save your work:
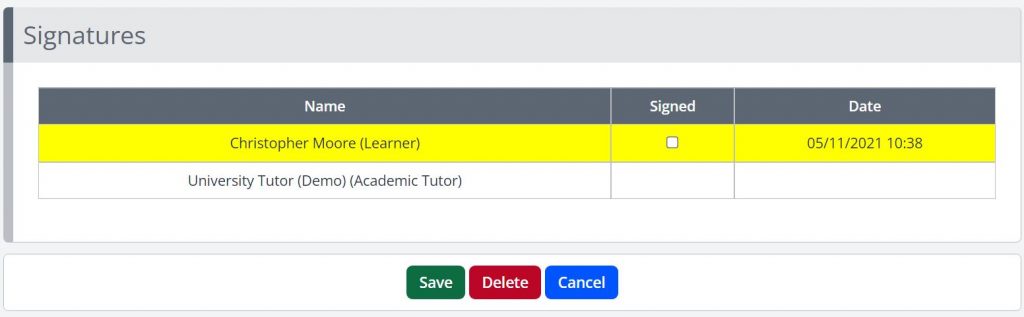
- Learner Template (Learner) – The form can be filled out and signed multiple times for the same learner. Only the first person listed in the signature box can complete the fields.
If you are unsure which forms you should be completing, please liaise with your Programme Administration Team or your Tutor, and they will be able to provide you with further information and guidance.
What Fields will a Form Contain?
In One File, regardless of the publishing option used, you will find that forms typically contain the same interactive elements that you may be familiar with from other programs and websites, these usually include:
Single and multi-line text boxes
An example of a single line text box in One File is displayed below. There are no formatting tools, such as Bold or Italics, therefore to begin typing simply move your mouse cursor to the box, left-click, and then begin typing.
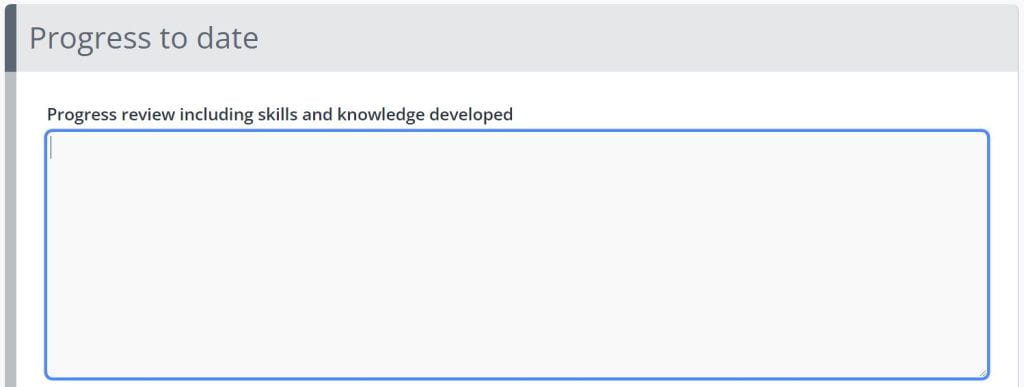
An example of a multi-line text box in One File is displayed below. There are no formatting tools, such as Bold or Italics, therefore to begin typing simply move your mouse cursor to the box, left-click, and then begin typing. These boxes can be expanded by pressing enter, or resizing by using your mouse cursor to click, hold, and drag the bottom right corner.
Date/Calendar fields
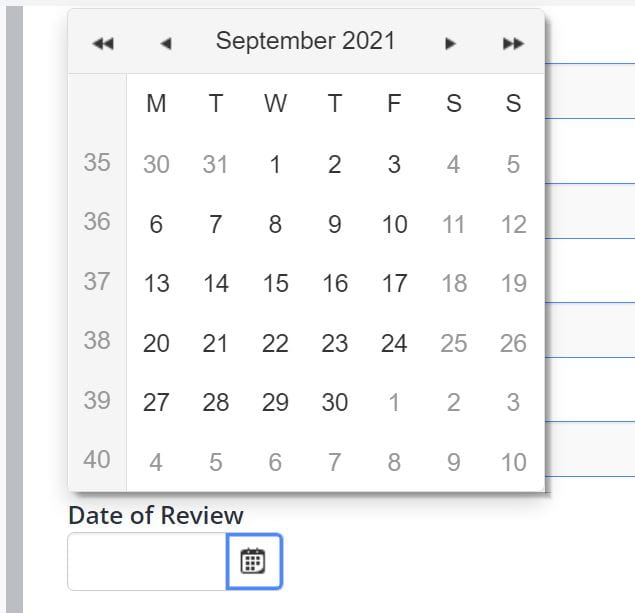
An example of a date and calendar field in One File is displayed below. To select a date, click on the calendar icon and then locate the relevant year, month and day, or simply type the date into the text box using a DD/MM/YYYY format.
Lists of items with checkboxes
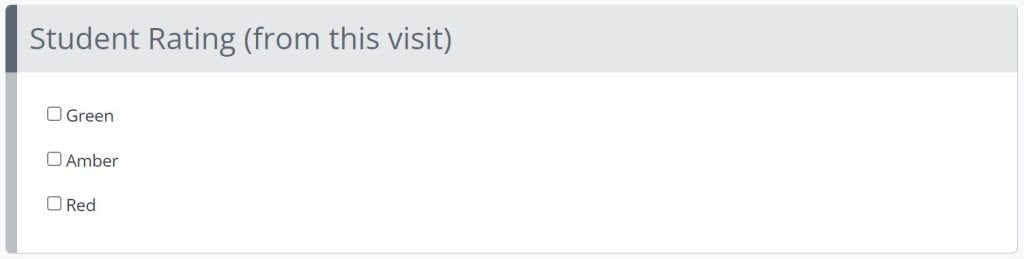
An example of a checkbox list in One File is displayed below. You can tick multiple items in a list by clicking the square box located to the left of the list item.
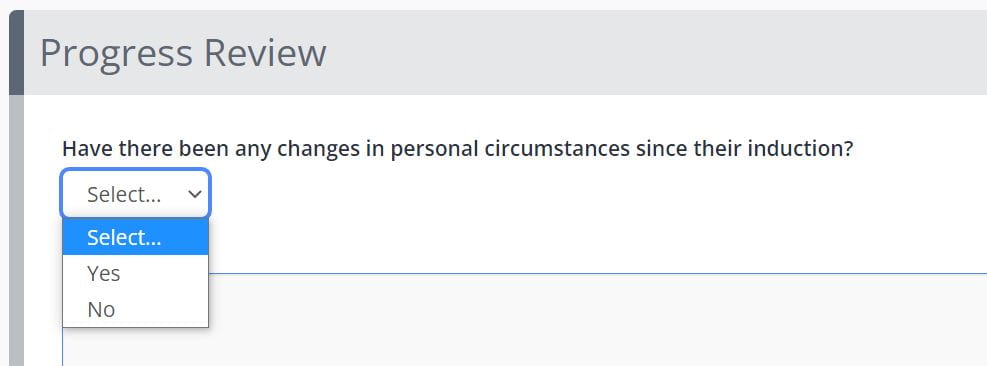
Drop-down menus
An example of a drop-down menu in One File is displayed below. These menus will be customised in each form, you can select one option, these fields may be mandatory and you will not be able to complete the form until you have selected one of the options.
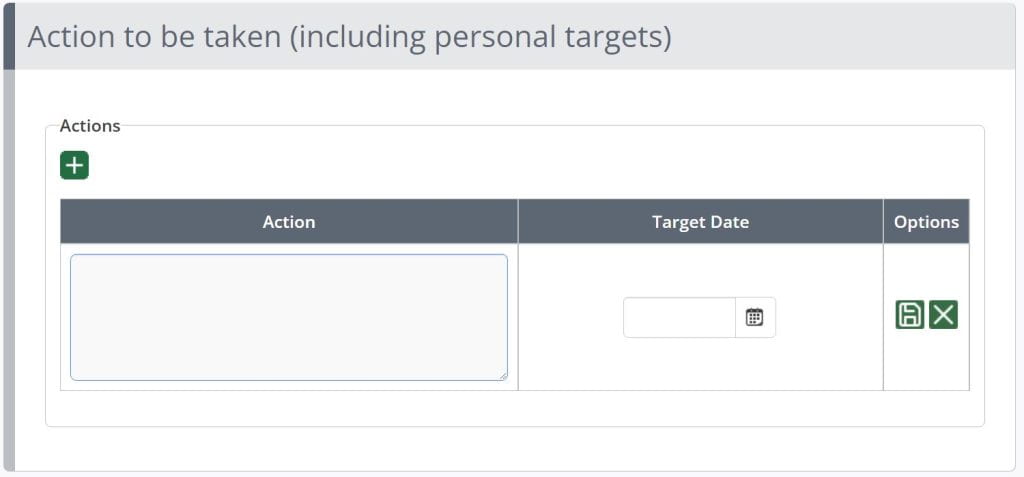
Data tables which contain pre-formatted column headers
An example of a data table in One File is displayed below. A data table will contain a range of fields as described in this guide, they are preformatted tables that you can complete as part of the form, to add a row to the table, click the green Plus icon, complete the row fields, then click the save icon. To add a new row, you must save the previous row, and then click the green add button again.
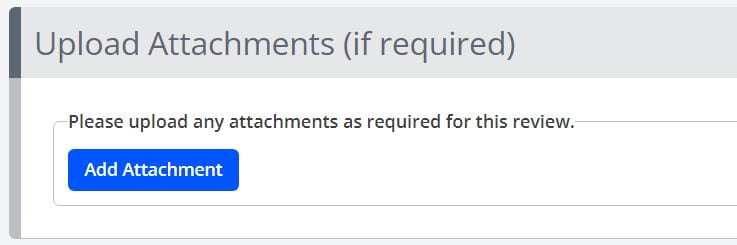
Attachment upload points
An example of an add attachment field in One File is displayed below. You can use this to attach existing files stored in the One File portfolio to the form, or to upload new files from your computer and associate with the form entry.