4. Uploading Evidence And Completing Assessments
One File allows you as the learner to create evidence assessments without tutor direction, this means that you can upload any evidence that you believe contributes to the knowledges, skills and behaviours in your apprenticeship standard. You will also find assessments here that have been assigned to you by your tutor, or evidence that has been uploaded by your employer, when uploading evidence to assessments created by your tutor, you will not need to select the assessment method or title, just provide evidence, and ensure that the criteria are selected. Your tutor may provide the criteria for you, or they may ask you to complete your own. To start an assessment that has been assigned to you, simply click the title of the assessment.
Creating and Uploading Evidence to Assessments
To begin creating an assessment, you will need to access the ‘Assessments’ tab of your portfolio, please note the Upload Evidence area does not allow you to map the evidence to the standard and your tutor will not see it for marking. Any evidence that needs reviewing by your tutor should be uploaded to the Assessments area. The Assessments area can be found in the Information and Options tab of your portfolio or from the quick link in the left-hand menu.

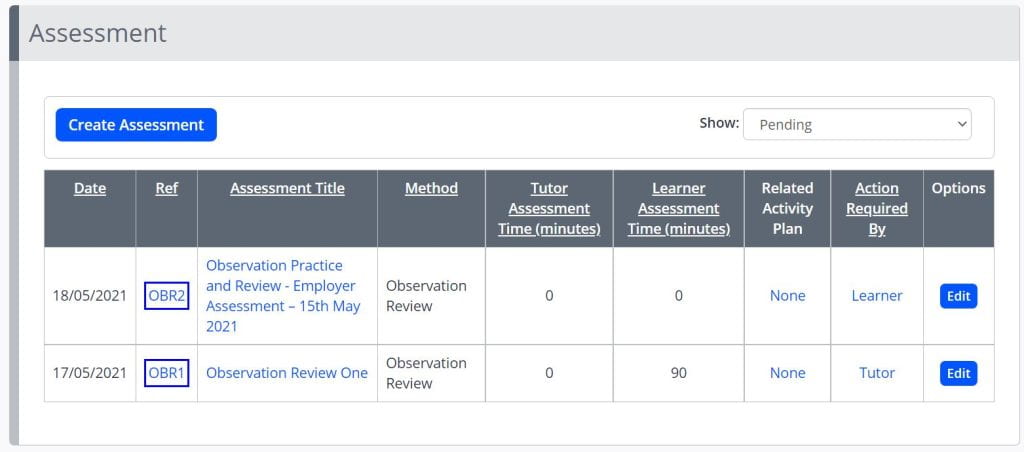
- After accessing the Assessments tab, you will see a list of assessments that you have previously created, or that you have been assigned by your tutor. The action required by column will indicate who needs to review or complete the assessment, where the field states learner this indicates you need to upload evidence, where the field states tutor this indicates that the assessment is completed and the tutor needs to mark it. To create a new assessment click Create Assessment.
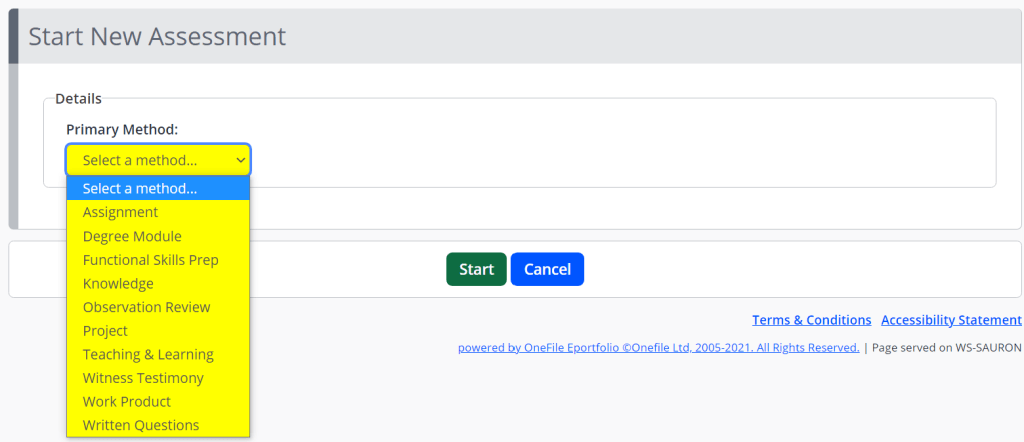
- The first step requires you to select an assessment method, also known as the primary method, this is simply a category for your assessment. Your assessment team will have created the list of methods to be specific to your programme, choose the most relevant or the one that you have been instructed to select.
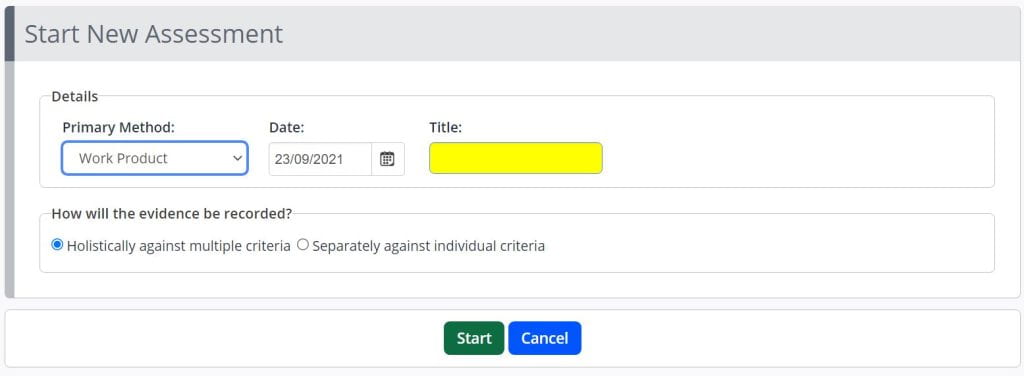
- You will now be able to enter a date, title, and whether evidence will be recorded holistically against multiple criteria or separately against individual criteria. If you are uploading one or more documents that all meet a selection of the standards, you can select holistically, if you are uploading multiple documents and each document refers to a specific knowledge, skill or behaviour, but are part of the same assessment upload, you should select separately. Click Start to proceed.
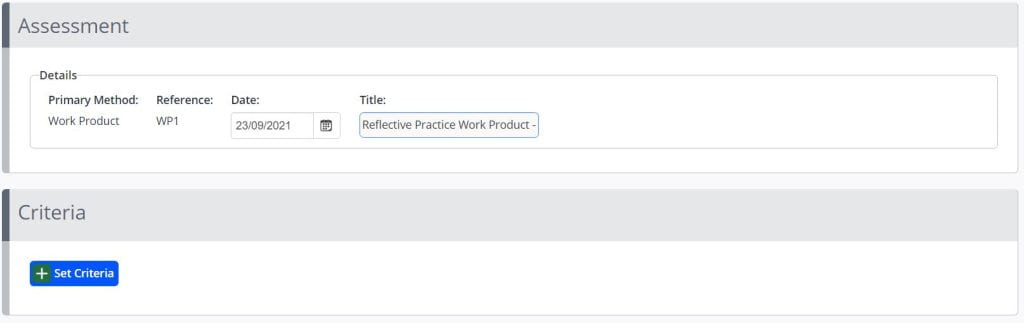
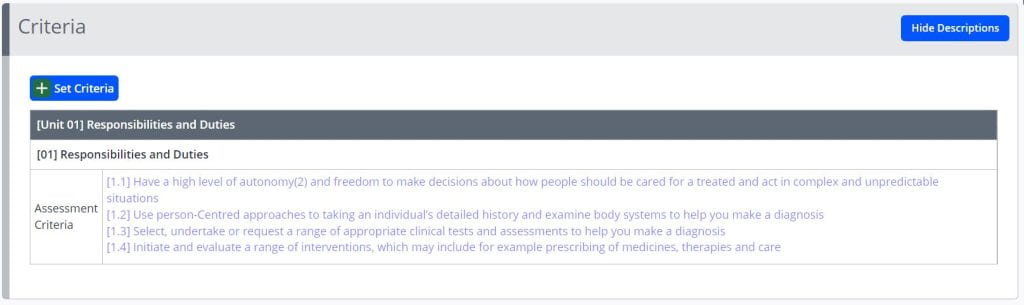
- You can now add the criteria that this assessment meets, your tutor may tell you which criteria you are mapping for this assessment, or this may be for you to decide as part of a self-directed assessment upload, if you select a criteria that is not met by the assessment, your tutor can simply remove it during the marking process. Click the Set Criteria button to begin.
- The Set Criteria menu will present the learning aims associated with your account, you can expand and collapse each segment to locate the specific knowledges, skills and behaviours you would like to evidence as part of this assessment.

- Use the checkboxes provided to select the criteria, then when you are done click Save. Your selections will be highlighted in yellow. You can then click Back.

- You will now see your selections presented in a faint blue text, this is because the tutor is required to confirm that your selections are correct.
- If you scroll down you will find the Evidence box, you can either enter your evidence as text, or add attachments using the upload attachments.
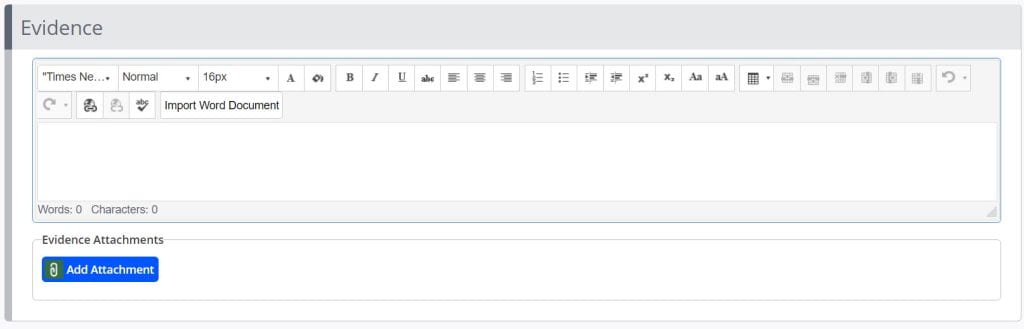

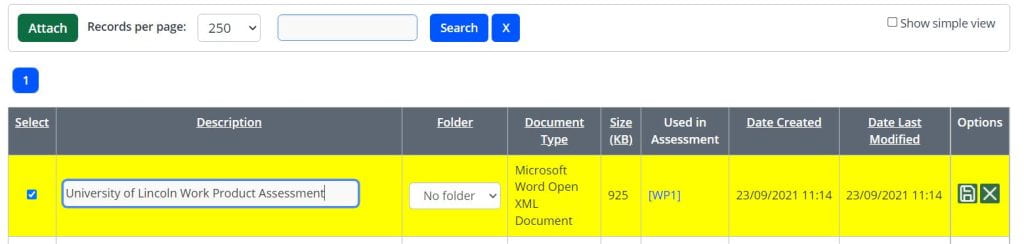
- You can drag and drop files into the upload space or click the Select files button. This will open your computer’s file browser system. When you have selected your files you will have the chance to rename them, but you also need to click the save icon to confirm the file is correct. Then click Attach to add the files and return to the Create Assessment screen.
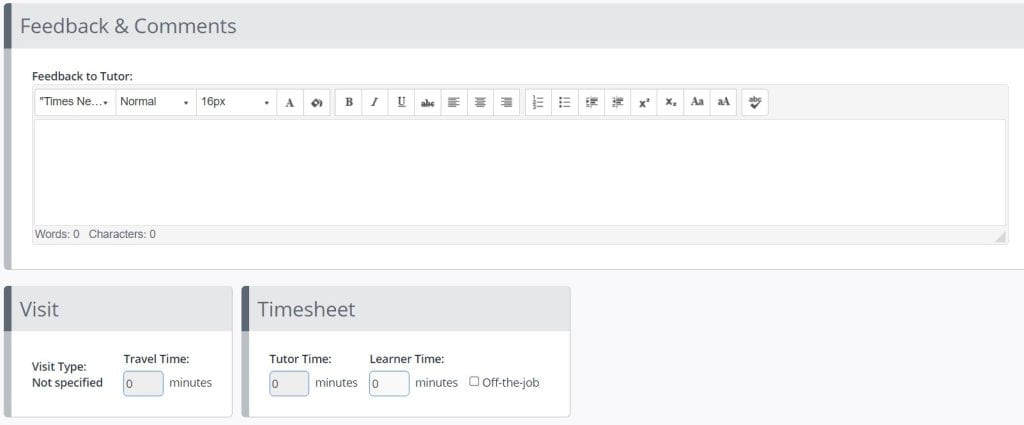
- The Feedback and Comments box allows you to indicate any related information to the tutor that is not directly assessment evidence, for example explaining that one of your Word files contains both required assessment pieces, or that the reason you have not uploaded the PowerPoint is that it is too large and therefore the link is provided in the evidence box. You can also associate time with your assessment, this means that you do not need to then record it in the Timesheets area as this will be done automatically for you. If the time is off-the-job hours you should check the off-the-job box.
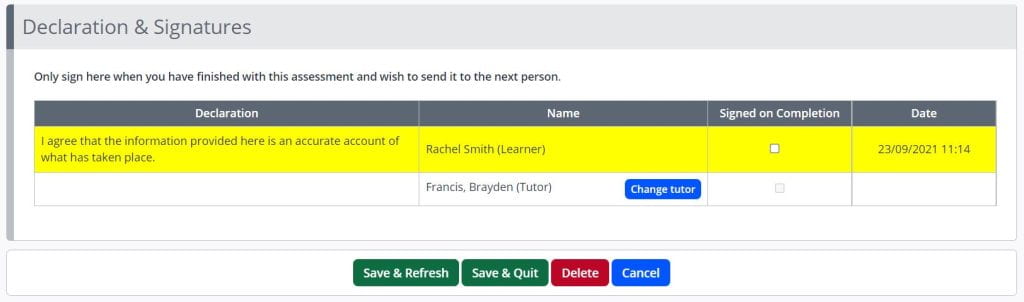
- When you are done, you can click the ‘Signed on Completion’ checkbox and then click Save and Quit. If you want to save and return to the assessment later, do not tick the signature box, and click Save and Refresh.
You have now successfully created an assessment, this will be sent to your tutor for marking and to provide feedback.