Blogs, wikis and journals on Blackboard
From time to time you may find that you are required to use Blogs, Wikis and Journals in your studies. These tools can be accessed via Blackboard and this helpsheet details how to use each feature.
Accessing and posting on a blog
Blogs can be understood as an area of Blackboard where you are able to write up an independent reflection of your studies as you progress.
- In order for you to post, your tutor will need to have made the blog feature available. Once they have, you will be able to click the ‘blog’ link on the module site menu.
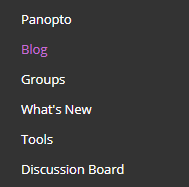
You will see a list of blogs which have been made available to you. Some of these may be group blogs, others individual reflections which are private to you as a student.
Click on the blog you wish to access.
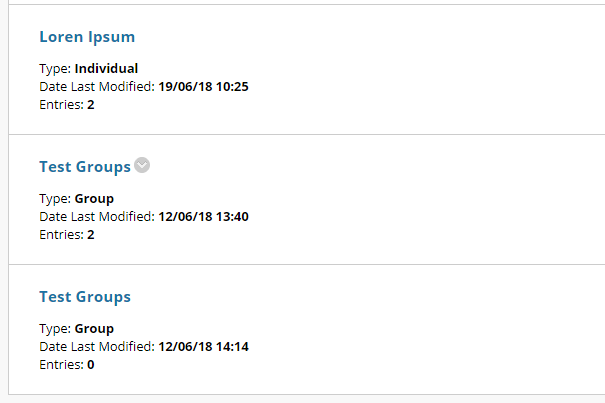
- A list of existing blog posts will display.
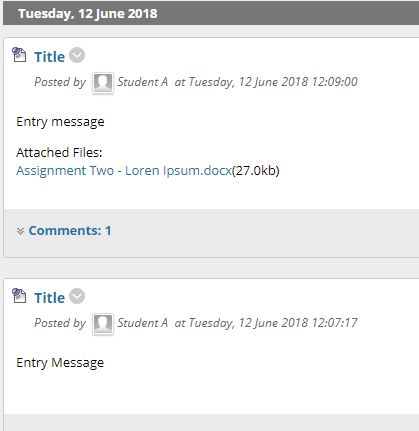
- If your tutor has provided any instructions for using the blog, these will be shown at the top of the page.
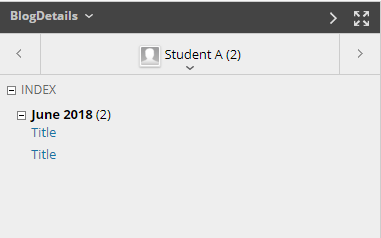
- Using the navigation on the right, you will be able to easily move through your posts or see posts from other students (using the dropdown menu) if it is a group blog.
- To post a new blog post, click the ‘Create Blog Entry’ button at top left of the page.

- On the next page you can enter your title and write your post in the main ‘Entry Message’ box.
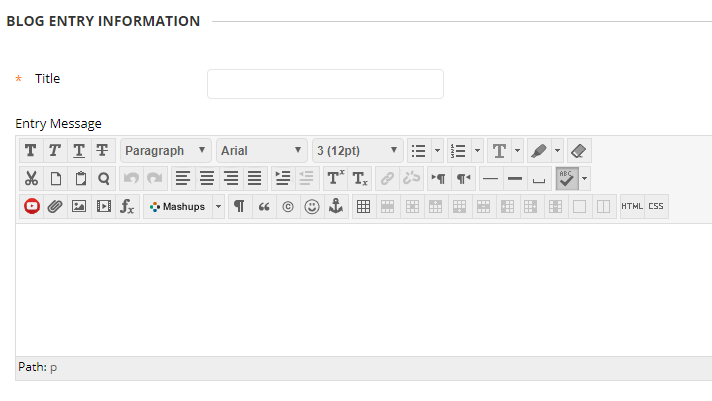
- You can upload files with your entry if you wish.

- From the bottom menu you have a choice to cancel, save your post as a draft or post your entry.

- Your new post will be shown in the main blog window once you have posted your entry.

Accessing and posting on a Journal
Journals work in much the same way as blogs. However they are private to each student as standard and will not be shared within a group.
- In order for you to post, your tutor will need to have made the blog feature available. Once they have, you will be able to click the ‘journal’ link on the module site menu.

You will see a list of journals which have been made available to you.
Click on the journal you wish to access.
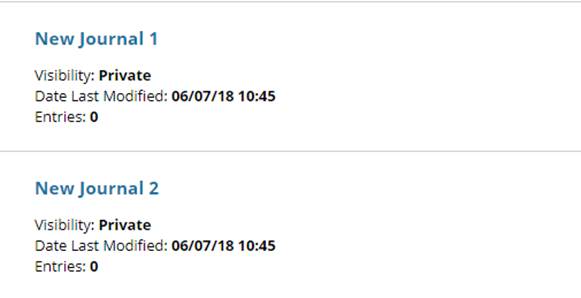
- To create a new entry in your journal click ‘Create Journal Entry’

- On the next page you can enter your title and write your post in the main ‘Entry Message’ box.
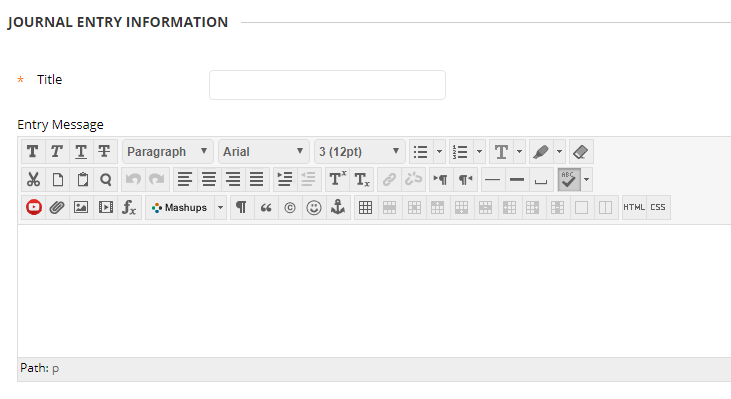
- You can attach files to your entry if you wish.

- From the bottom menu you have a choice to cancel, save your post as a draft or post your entry.

- Your new entry will show up in the main window if you click ‘Post Entry’.
Commenting on blog posts and journal entries
The process of commenting on a blog post or journal entry is very similar.
- Locate the post or entry on which you wish to comment.
- Look for the comment button beneath the post or entry.

- Clicking the ‘Comment’ button will display a large text box into which you can write your comment.
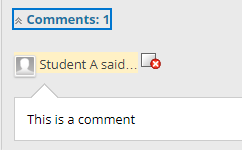
- You can post your comment by clicking ‘Add’. If your tutor has made the function available you may be able to mark your comment as anonymous.

- Your comment will appear under the post on which you have commented
Accessing and contributing to a Wiki
You can contribute to a Wiki if this feature has been made available within your module, by your module tutor. To access the wiki:
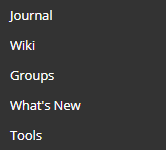
- Click on ‘Wiki’ within the main module site menu.
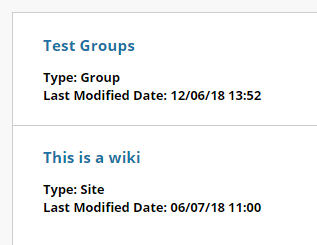
- You will see a list of wikis which have been made available to you. Some of these may be group wikis, others individual wikis which you are asked to contribute to.
Click on the wiki you wish to access.
- On the next page, you will see the content which has already been posted on the wiki.
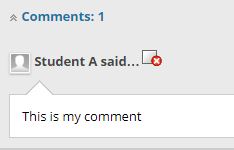
- You can comment on the content which has already been posted, by clicking the ‘Comment’ button and writing your comment in.
- Click add to post your comment.

- Your comment will be displayed under the relevant Wiki page.
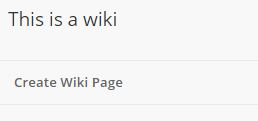
- You can add a new page to your Wiki by clicking the ‘Create Wiki Page’ button above the main window.
- From here you can enter the title and content for your wiki page.
- Your new Wiki page will be posted once you click submit.
- To navigate between pages on the wiki you will need to use the navigation menu to the right of the main window.
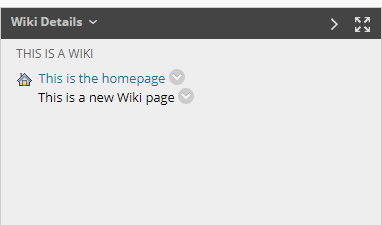
- Clicking on the ‘Wiki Details’ button will expand a section which gives you further details on the wiki.